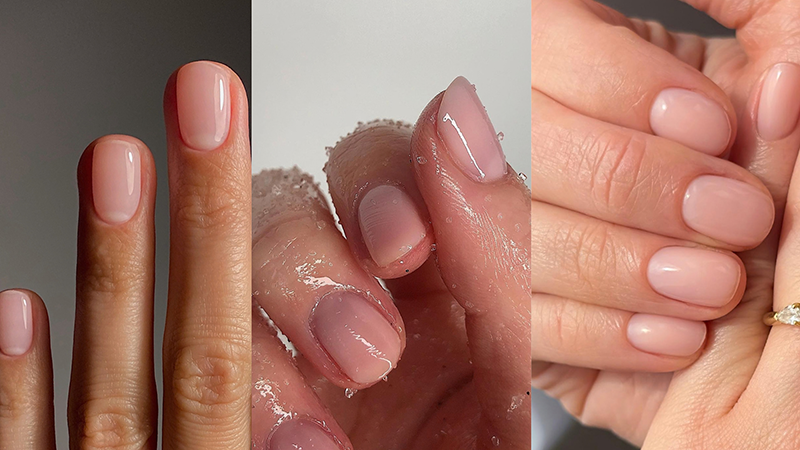
I remember the first time I tried gel polish. I had just spent an hour carefully painting my nails with regular polish, only to ruin them reaching for my keys five minutes later. A friend handed me a gel kit and said, “Try this. It dries instantly.” That moment changed my relationship with nail polish forever.
What Exactly Is Gel Polish?
Gel polish is a hybrid formula that sits between traditional nail polish and acrylics. It’s made of acrylate monomers and oligomers that stay liquid until they are cured—hardened—under a UV or LED lamp. Unlike regular polish, which dries by evaporation, gel polish cures through a chemical reaction triggered by light. The result is a hard, durable, glossy finish that lasts for weeks without chipping. Its thick, self-leveling formula provides a smooth, even application that resists smudging, cracking, and fading—making it an ideal choice for busy lifestyles.
Gel polish is not the same as builder gel (used for extensions) or hard gel (which requires filing to remove). It is designed to be applied like a polish and removed by soaking in acetone. This is why it’s also called “soak-off gel.”
Why Choose Gel Polish?
Gel polish has become a favorite for good reason. A properly applied gel manicure lasts two to three weeks without chipping, peeling, or fading—significantly longer than the typical 3–5 days of regular polish, making it ideal for vacations, busy periods, or anyone who doesn’t want to worry about their nails every few days. It also cures instantly under the lamp, eliminating drying time entirely; you walk out of the salon with fully set nails, no smudging, no waiting, and no ruined manicures.
The glossy finish maintains its shine for the entire wear period, and because it forms a protective shell over your natural nail, gel polish strengthens nails and reduces breakage, making it an excellent option for weak or brittle nails. Beyond durability, gel polish offers incredible versatility—available in a vast range of colours, finishes, and effects, from classic nudes to bold neons, glitter, chrome, and cat-eye designs. It also serves as a perfect base for nail art, allowing for intricate designs without compromising longevity.
The Salon Gel Manicure Process: Step by Step
A professional gel manicure follows a precise sequence of steps to ensure a flawless, long-lasting result. Here’s what happens during a typical salon appointment:
Step 1: Consultation and Nail Shaping
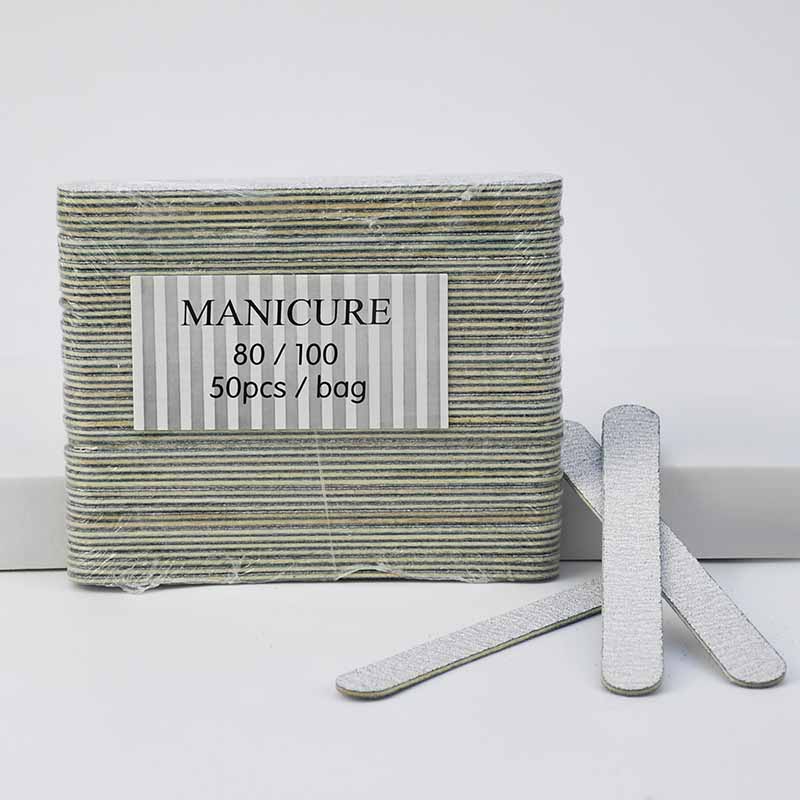
The technician will consult with you about your desired length and shape, as well as any special requests. Your nails are then shaped using a fine-grit nail file to achieve the silhouette that best suits your hands, with edges smoothed to prevent snagging.
Step 2: Cuticle Care
Cuticles are gently pushed back with a wooden or metal pusher, and any dead, loose tissue is carefully trimmed. The technician never cuts living cuticle, preserving the protective seal that prevents infection. The nail plate is then cleansed with a dehydrator to remove oils, dust, and moisture.
Step 3: Applying the Base Coat
A thin, even layer of gel base coat is applied, ensuring it does not touch the skin or cuticles. The base coat is then cured under the UV/LED lamp for 30–60 seconds. This creates a sticky, adhesive layer that helps the colour bond to the nail.
Step 4: Applying the Colour
The first thin layer of colour is applied and cured, followed by a second thin coat for even, opaque coverage. Each layer is cured individually under the lamp. The technician pays careful attention to the edges, ensuring a clean, professional finish.
Step 5: Applying the Top Coat
A layer of gel top coat is applied to seal the colour and add shine, then cured again. After curing, any sticky residue is wiped away with a cleanser or alcohol to reveal the final glossy finish. The manicure is completed with cuticle oil to hydrate and nourish the skin around the nails.
Gel Manicure Maintenance: How to Make It Last
A gel manicure can easily last two to three weeks with a few simple aftercare habits. Apply cuticle oil daily to keep the skin around your nails hydrated and prevent lifting. Hydrated nails are flexible nails, which reduces the risk of chipping and peeling. Protect your manicure by wearing gloves for dishwashing, cleaning, or gardening—prolonged water exposure and harsh chemicals are the fastest ways to shorten the life of your gel polish. Avoid using your nails as tools for opening cans or peeling stickers, as this places lateral pressure on the nail plate and can cause chipping.
When you notice a small chip or lifted edge, do not peel or pick at it, as this can strip layers of your natural nail. Instead, gently file the edge smooth and apply a thin layer of clear top coat to seal it until your next appointment. To maintain the high-shine finish, you can also apply a fresh layer of top coat after a week. If you need to remove the polish, always use the acetone soak method; never peel it off. Peeling causes significant damage to the natural nail plate.
The Bottom Line
Gel polish offers the best of both worlds: the ease of a polish application with the durability of a protective coating. It’s chip-resistant, high-shine, and long-lasting—perfect for anyone who wants beautiful nails without the constant upkeep. With proper application and a few simple aftercare habits, your gel manicure will stay flawless for weeks, giving you the confidence to show off your hands every day.