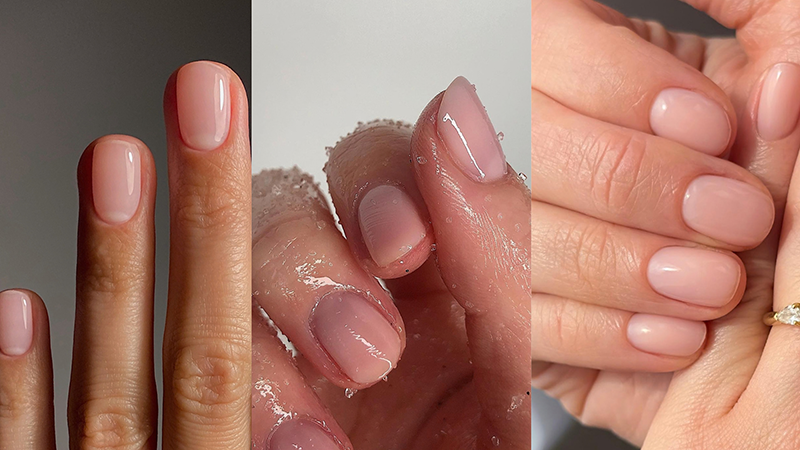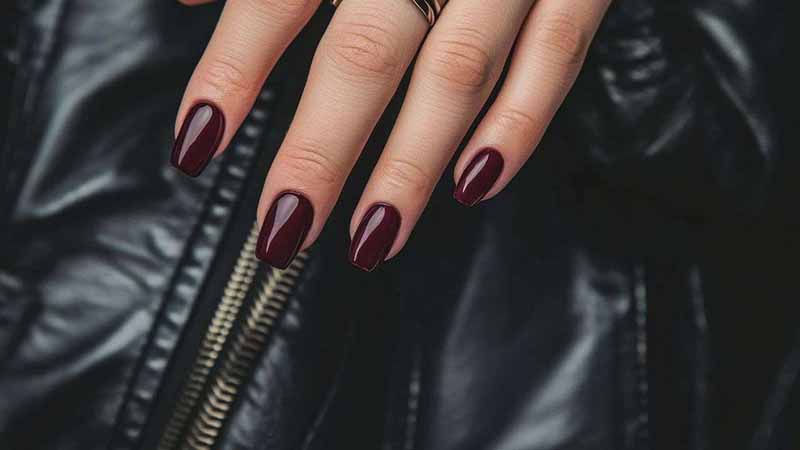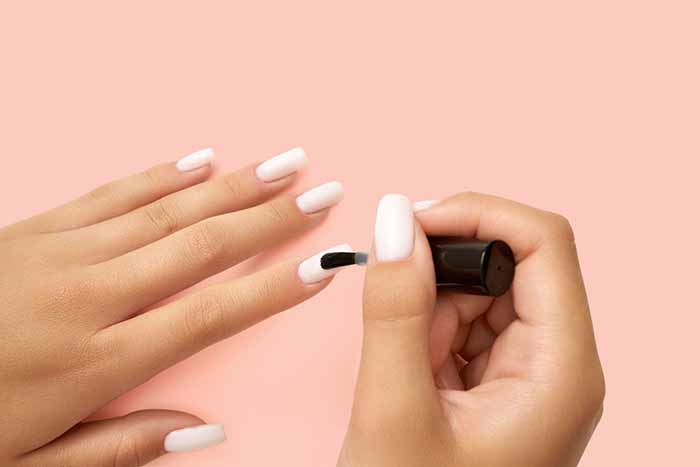
A manicure is more than a cosmetic luxury. It is a small act of self-care that keeps your hands healthy, your nails strong, and your confidence high. Professional salon visits are wonderful, but they are not always practical. They cost money, require appointments, and can expose your nails to harsh products or aggressive techniques. That is why home DIY manicure care has become so valuable. With the right tools, a little knowledge, and a consistent routine, you can achieve salon-quality results in your own space—while protecting the health of your natural nails.
Why DIY Manicure Care Is Important?
The first reason is control. When you do your own manicure, you decide what products touch your nails, how much filing they receive, and how gently they are treated. Many salon manicures involve aggressive cuticle cutting, coarse filing, or harsh acetone soaks. At home, you can avoid these habits and choose a gentler approach. This is especially important for people with thin, peeling, or sensitive nails.
The second reason is cost. A salon manicure can cost $30 to $60 or more, and gel services cost even more. Doing your own nails at home requires an initial investment in nail supplies, but after that, the cost per manicure is very low. Over a year, the savings are significant.
The third reason is convenience. You can do your nails at night, on a weekend, or whenever you have twenty minutes. There is no appointment to book, no commute, and no waiting. This makes it easier to maintain a regular routine.
The fourth reason is nail health. A consistent home manicure routine—cleaning, shaping, moisturizing, and protecting—prevents common problems like hangnails, dry cuticles, peeling, and breakage. It also gives you a chance to inspect your nails regularly and notice changes early. Your nails can be an early indicator of nutritional deficiencies, thyroid issues, or fungal infections. Regular home care helps you stay aware.
Finally, DIY manicures are a form of creative expression. You can experiment with colours, finishes, and simple nail art without committing to a salon price. You can change your look as often as you like.
How to Do a DIY Manicure at Home?
A complete home manicure follows a logical sequence. Do not rush. Each step builds on the last.
Step 1: Gather Your Tools
You do not need a salon full of equipment. A basic kit includes:
- A fine-grit nail file (180–240 grit)
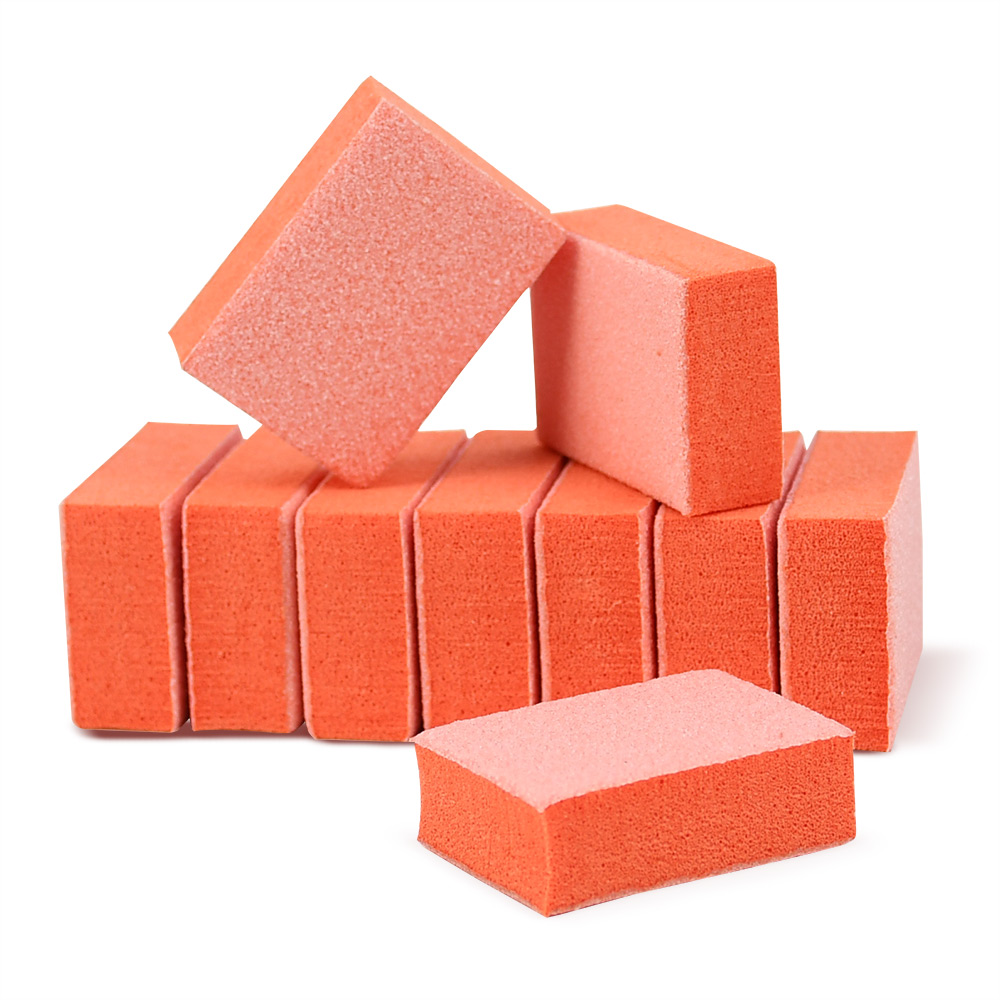
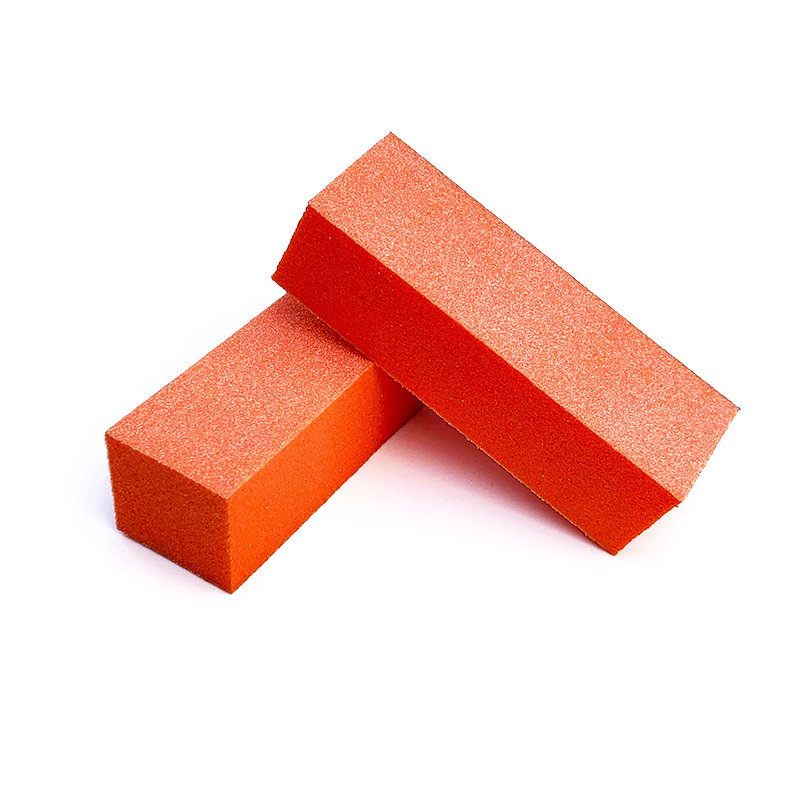
- A buffer block
- A cuticle pusher (wooden or rubber-tipped)
- Nail clippers
- Lint-free wipes
- Rubbing alcohol or nail dehydrator
- Base coat
- Nail polish or gel
- Top coat
- A cleanup brush
- Cuticle oil
- Hand cream
Optional extras include a nail brush, a pumice stone if you are doing a pedicure, and a UV/LED lamp if you use gel.
Step 2: Remove Old Polish
Remove any existing polish with a gentle, acetone-free remover for regular polish. For gel, use the proper acetone soak-off method. Never peel or scrape. Peeling strips layers off the nail plate and leaves it thin and weak.
Step 3: Shape Your Nails
Use a fine-grit file to shape the free edge. Always file in one direction—from the outer edge toward the centre. Sawing back and forth creates micro-tears that lead to peeling and splitting. Choose a shape that suits your hands. Squoval (square with rounded corners) is universally flattering and durable. Oval is elegant and elongating. Round is practical and low maintenance.
Do not over-file the sidewalls. Keep the shape balanced. Check symmetry from multiple angles.
Step 4: Care for Your Cuticles
Soak your fingertips in warm water for a few minutes to soften the skin. Gently push back the cuticles with a wooden or rubber-tipped pusher. Do not cut living cuticle. The cuticle is a protective seal that keeps bacteria out. Cutting it can lead to infection and irregular nail growth. Only trim loose, dead skin if necessary, using sharp nippers.
Step 5: Buff the Nail Surface
Lightly buff the nail surface with a fine nail buffer to remove shine and smooth ridges. Two or three light passes are enough. Over-buffing thins the nail plate and makes it weaker.
Step 6: Cleanse and Dehydrate
Remove all dust with a soft brush. Wipe each nail with rubbing alcohol or a nail dehydrator on a lint-free wipe. This removes oils and moisture. After this step, do not touch your nails with your bare fingers. Finger oils transfer instantly and prevent polish from bonding.
Step 7: Apply Base Coat
Apply a thin layer of base coat. Cap the free edge—run the brush along the tip of the nail—to seal it. Base coat prevents staining, improves adhesion, and creates a smooth surface for colour.
Step 8: Apply Colour
Apply the colour in thin layers. Two or three thin coats are better than one thick coat. Thin layers dry faster, level out more evenly, and chip less. If you are using gel, cure between each coat according to the manufacturer’s instructions. Cap the free edge with each coat. Keep polish off the cuticle and sidewalls.
Step 9: Apply Top Coat
Finish with a generous layer of top coat. Cap the free edge again. Top coat seals the colour, adds shine, and provides scratch resistance. For regular polish, reapply a thin layer every two to three days to refresh the shine and extend wear.
Step 10: Clean Up and Hydrate
Use a small angled brush dipped in remover to clean any polish that has strayed onto the skin. Apply cuticle oil to each nail and massage it in. Follow with a rich hand cream. This step is essential. It restores moisture and keeps the skin around your nails healthy.
Tips for Better Results and Long-Lasting Wear
Work in a well-ventilated space. Avoid applying polish in a small, closed room.
Use thin layers. Thick polish bubbles and peels. Thin layers are always better.
Wait between coats. Allow each layer to dry or cure fully before applying the next.
Cap the free edge. This is the single most effective habit for preventing chips.
Keep polish off the skin. Product on the cuticle or sidewalls lifts first.
Avoid water for one hour. Give the polish time to harden fully before washing your hands or showering.
Wear gloves for chores. Dishwashing, cleaning, and gardening expose nails to water and harsh chemicals.
Apply cuticle oil daily. Hydrated nails are flexible and less likely to chip or break.
Do not use nails as tools. Opening cans, peeling stickers, and scraping with your nails causes chips and breaks.
Give your nails breaks. A few days of bare, oiled nails between manicures allows the nail plate to recover.
Common Mistakes to Avoid
Skipping preparation. Oils, dust, and cuticle residue prevent adhesion. Always cleanse and dehydrate.
Sawing back and forth when filing. File in one direction only.
Cutting living cuticles. Push, do not cut.
Applying thick coats. Thin layers are stronger and last longer.
Peeling off gel or polish. Never peel. Soak off properly.
Using old or separated products. Old polish and base coats do not perform well.
Not sealing the free edge. Unsealed tips chip first.
Final Thoughts
DIY manicure care is one of the most practical and rewarding beauty habits you can develop. It saves money, gives you control over your nail health, and allows you to enjoy beautiful nails on your own schedule. With a simple kit, a gentle technique, and a consistent routine, you can achieve salon-quality results at home. Treat your nails with care, and they will reward you with strength, beauty, and resilience.
Read also: The Soap Nails Trend: The Clean, Milky Manicure Taking Over 2026